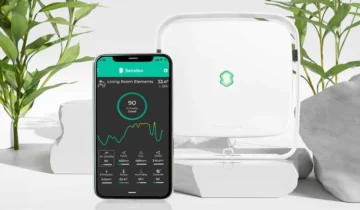
Smart thermostats are becoming a popular addition to homes all over Dubai, especially a great attraction for home automation lovers. The purpose of this is to control the temperature of heating and cooling systems in your home sweet home. Smart thermostats can be controlled from anywhere or anytime.
But before you begin experiencing these benefits, here’s how you install a smart thermostat system in your home successfully. However, if you need any further assistance then contact Smartify Spaces experts, they will help you with the installation process of your smart thermostat.
Smart Thermostat Installation:


Installing a smart thermostat is relatively straightforward, but make sure your home has HVAC system because it is compatible with the smart thermostat. Whatever the model you picked from the Smartify Spaces shop, also most of the models have a compatibility guide available online.
Secondly, a summer heatwave or a winter melting is not the best time to install a new thermostat. Just in case things go south, it is always best to execute this type of project for the milder times of the year.
Step-by-step guide: To install a smart thermostat:


Turn Off Your HVAC System:
Turn off your HVAC system at the breaker panel. Cutting the power off will reduce the risk of shorting out any components later in the process of Smart Thermostat Installation. If you have your old thermostat which runs battery-powered, it should keep on. To check out your new thermostat functionality, try turning on your system at the old thermostat and make sure your air conditioning or boiler doesn’t kick on.
Remove the Faceplate:
Remove the cover of your old thermostat to expose the wiring and backplate. Before disconnecting any wires, take a picture of the connections with your smartphone to retain what everything looked like when properly connected with your home system.
Remove the Backplate:
This is often one step further, where we have to remove the faceplate to replace batteries or hit a reset button, but removing the backplate is not a common routine.
However, the procedure is simple and easy, all you have to do is unfasten the clips or removing a few screws- which may require a screwdriver.
Install the Smart Thermostat Backplate:
Carefully incorporate all the exposed wiring through the proper holes of the new backplate before screwing the new plate down. This step may require a cordless drill to create new, sturdy drill holes in your drywall.
Connect New Wires:
Next, install the faceplate by connecting the wires to the appropriate places. At this point, your photo or notes come in handy to reconnect the wires correctly. Most smart thermostats feature colour-coordinated wires, along with detailed instructions.
Most of the time people asked whether the wires of a thermostat are universal?
Yes, it is, and these basic wiring colour codes should be followed:


